We've all been there. You're belting out your best shower solo, feeling like a true superstar, when suddenly your eyes land on it – that dreaded black or dark splotch lurking in the corners of your shower. Yes, my friends, we're talking about the bane of every bathroom: mildew on your shower silicone. It's not just unsightly; it's a breeding ground for yuck. But fear not, hygiene heroes! This isn't a battle you have to surrender.
Let's dive into the drama of mildew and how to show it the door, for good!
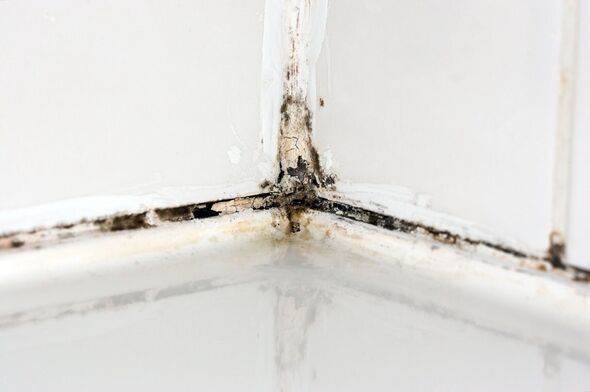
The Mildew Menace: Why Your Shower is a Horror Movie Set
You might be asking yourself, "How did this happen? My bathroom used to be a temple of cleanliness!" Well, the truth is, your shower's constant humidity and dampness are basically a mildew spa.
The silicone sealant, that trusty stuff keeping your water where it should be, is unfortunately the perfect host for these unwanted guests. Think of it like that house in every horror film, inviting the monsters right in. Mildew, those dark spots we all despise, is actually mold spores that thrive in these moist conditions. So, if you're seeing black or dark stains, it's time for action. It’s not just a visual offense; untreated mildew can actually cause health problems, and nobody wants that.
The Avengers of Clean: Your Mildew-Fighting Arsenal
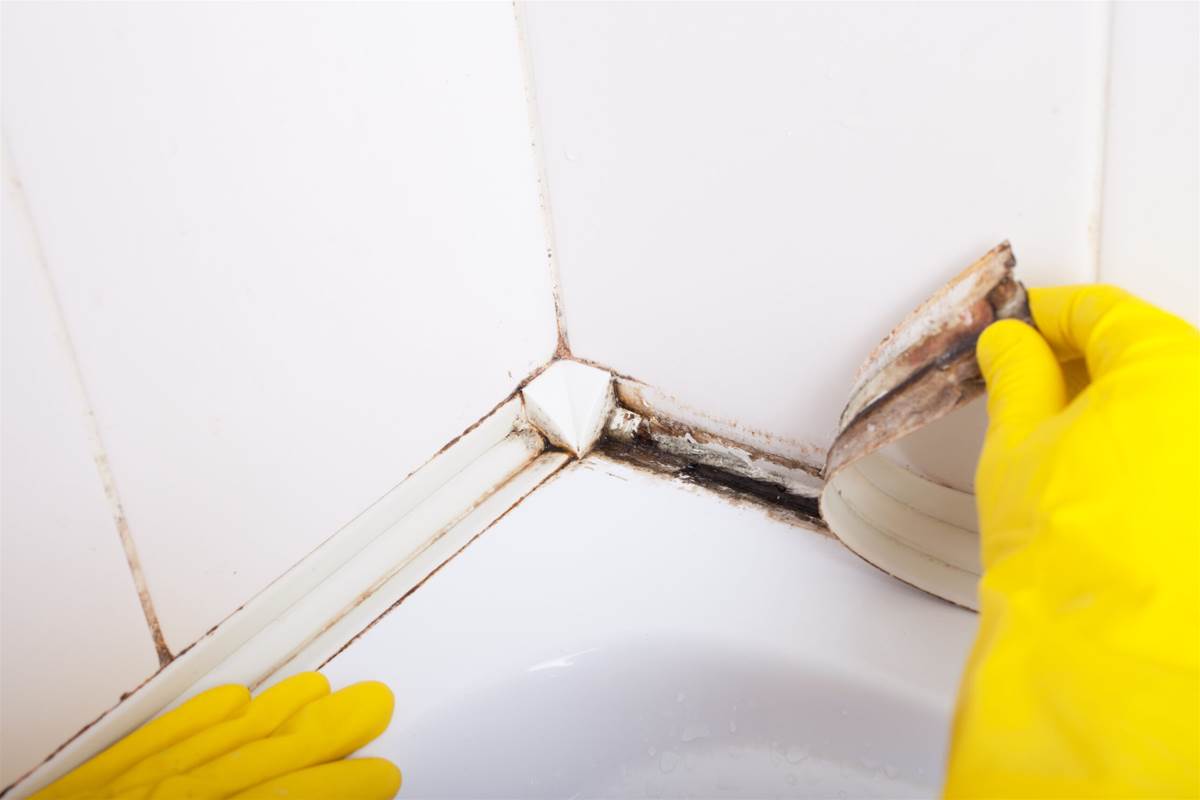
Now, for the real fun – how to get rid of the grimy invaders! I’m not talking about sending in the big guns straight away. Here are some natural remedies and more potent options for your mildew-busting toolkit:
White Vinegar: The Natural Hitman
This isn't just for salads! White vinegar is a natural antifungal powerhouse. Fill a spray bottle with undiluted vinegar and drench the affected silicone, allow it to sit for at least 30 minutes to allow it to penetrate the mildew, then, using a soft brush or toothbrush, give it a gentle scrub, before giving it a thorough rinse with warm water and a good dry.
Baking Soda: The Gentle Scrub Master
Mix baking soda with water until it forms a thick paste. Apply the paste to the mildew-stained areas, let it sit for 15 to 20 minutes, then scrub gently with a brush. Like with the vinegar, rinse with warm water and dry it off. This is a good choice for those who want a mild abrasive with anti-fungal properties.
Hydrogen Peroxide: The Disinfectant Superhero
Get yourself some 3% hydrogen peroxide, pop it into a spray bottle and spray on the mildew. Let it sit for around 10 minutes, and get to scrubbing! Once the mildew is removed, rinse with water and dry thoroughly. Hydrogen peroxide is a strong disinfectant and does a great job at eliminating mildew.
Bleach: When You Bring Out the Big Guns
For those particularly stubborn stains, you may need to go a bit harder.
Mix one part bleach with ten parts water in a spray bottle and spray it on the mildew. Let it sit for 15 to 20 minutes before scrubbing and rinsing with warm water and making sure that you get the area dried. A word of caution, make sure you do this in a well-ventilated area and use gloves as it is a strong solution.
Tea Tree Oil: The Natural Antifungal Savior
Add one teaspoon of tea tree oil to one cup of water and give it a shake in a spray bottle. Spray it on the mold, wait at least 10 minutes, scrub, and rinse. This is a good natural option for getting rid of mildew.
The Post-Show Glow: Keeping Mildew at Bay
Okay, you've won the battle, now how do you win the war? Here’s how to keep your shower sparkling and mildew-free:
Ventilation is Key: Use your exhaust fan during and after showers, or open a window to let the steam out. Mildew thrives in humidity, so dry it out!
Regular Cleaning Routine: Don't let soap scum and moisture build up. Make regular cleaning part of your shower routine to prevent mildew growth.
Dry Everything: After a shower, give the shower walls and silicone a wipe down to remove any excess water.
Mildew-Resistant Silicone:
When replacing the silicone around your shower, make sure to use mildew-resistant silicone.
When to Call in the Professionals
Sometimes, mildew is so deeply embedded that no amount of scrubbing will help. If that's the case, it's time for a silicone replacement. Use a utility knife or silicone remover to remove the old silicone, clean the area with a mildew-killing product, apply new mildew resistant silicone following the instructions, and you should be good to go!
The Final Curtain
Mildew on shower silicone is a common and annoying issue, but it doesn’t have to win the battle. By using natural methods, stronger solutions, and creating preventative habits, you can ensure that your shower stays mildew free. And who doesn't love a good cleaning transformation? So, go forth, brave bathroom warriors, and banish that grime for good. After all, your shower is your stage – let it shine!